BigTrak jr browser based LOGO programming
Last updated: Jan. 29, 2012, 4:53 p.m.
The Bigtrak Junior is a re-make of a classic toy apparently. I'd never seen one before, I remember school having a couple of floor turtles but I don't think I ever got to play with them (probably because I'd been messing around too much and not doing my work!). Basically the toy is a little programmable toy car that takes simple commands from a keypad with forward, back, turn left, turn right, pause etc. This is all very well but with only one memory location for storing your program between use and no editor only a "clear and start again" it's not much fun trying to get it to do things. Wouldn't it be better if it could be programmed from a web browser and you could actually use some sort of save/load program option to store your ingenious route design? The solution I've come up with could be argued to be over-engineered some what and quite expensive but I like to look at it as "expandable".
Video Summary
Overview
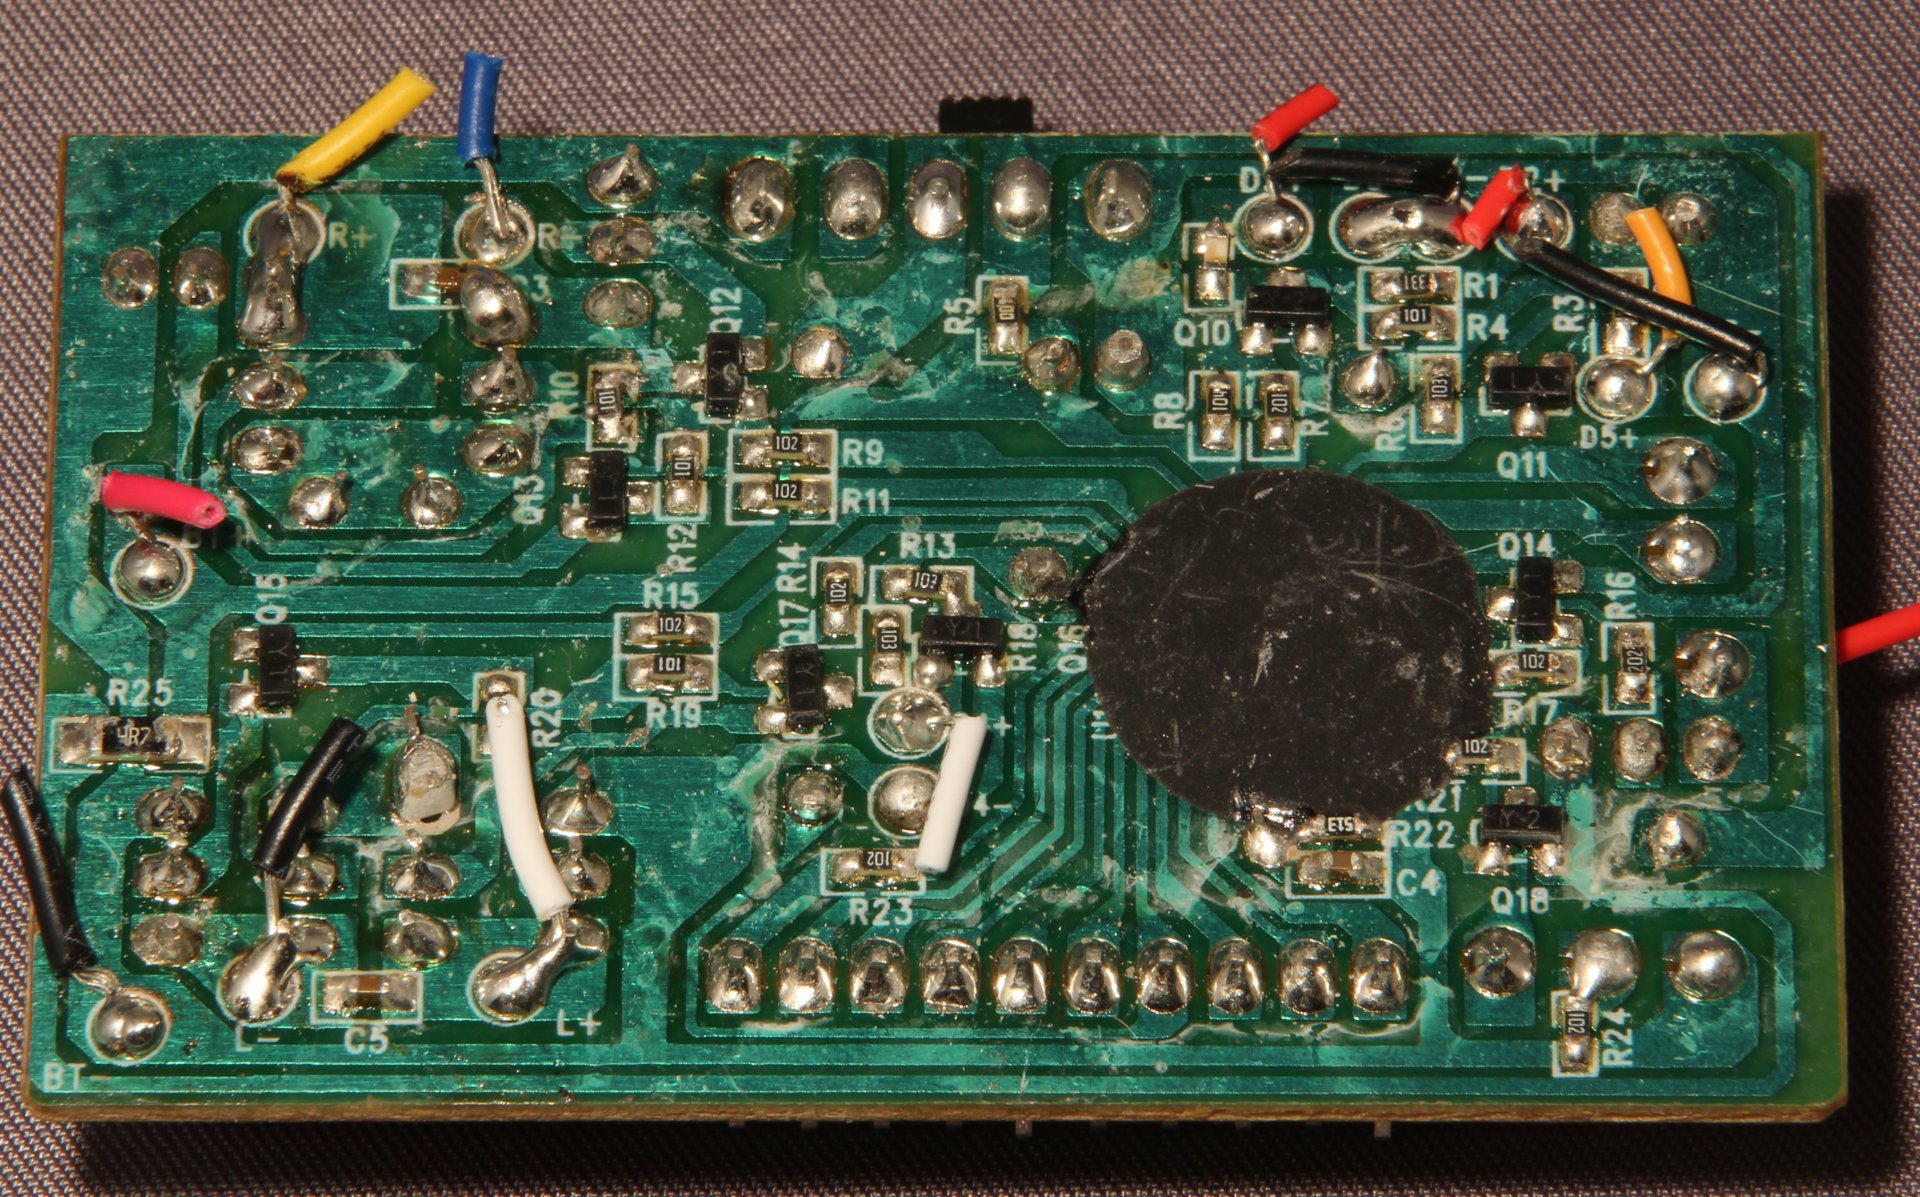
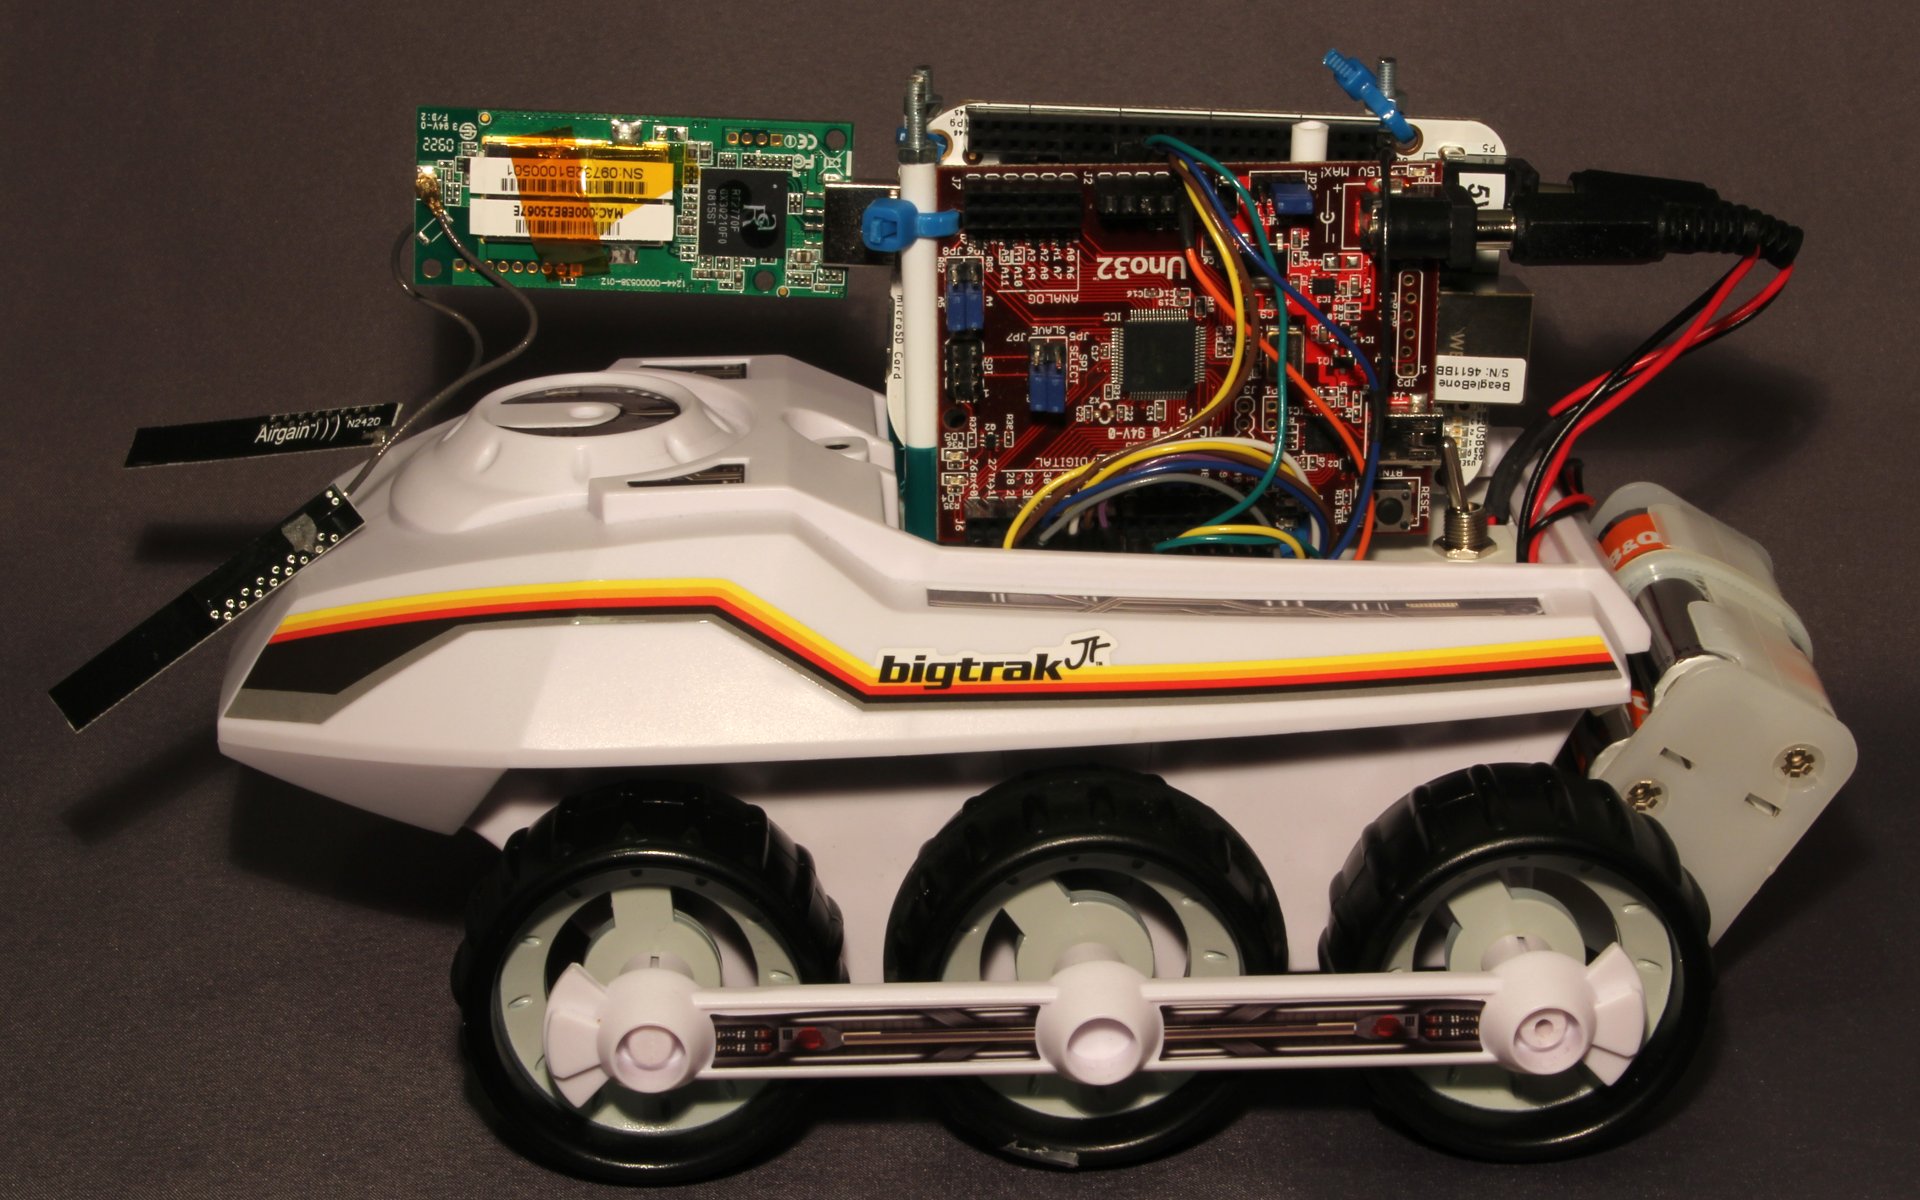
The basic project has taken a stock BigTrak junior and taken out the control board and keypad and replaced the keypad with a piece of plastic with two "toast rack" slots for micro controller boards. I also added an extra battery pack to provide the added power the BeagleBone is going to need especially with a WiFi dongle on board. The original electronics are very fixed purpose, the board construction is something like what I'd expect to see in a cheap calculator or similar with an epoxy covered ASIC on the board and a few passives around it. There are discrete transistors for the two H-bridges to control the two motors though. Getting any kind of control over this board was going to be too time consuming to bother. The matrix key pad has a much more complex key scan algorithm than I'd expected so simulating it with a few transistors wasn't going to work. I opted for an all in one H-Bridge driver chip (the L293D) although this is really overkill as the motors surge at only about 50mA. The control is carried out by two boards, a ChipKit Uno 32 for the low level real-time control details and the BeagleBone for the high-level web interface and control interpreter. I picked the ChipKit partly because it was lying around but also because it runs at 3.3V rather than 5V like an Arduino Uno (which I also have lying around, so no competition on availability) this meant I had no concerns connecting I/O pins from the ChipKit to the BeagleBone which can only tolerate 3.3V signals.
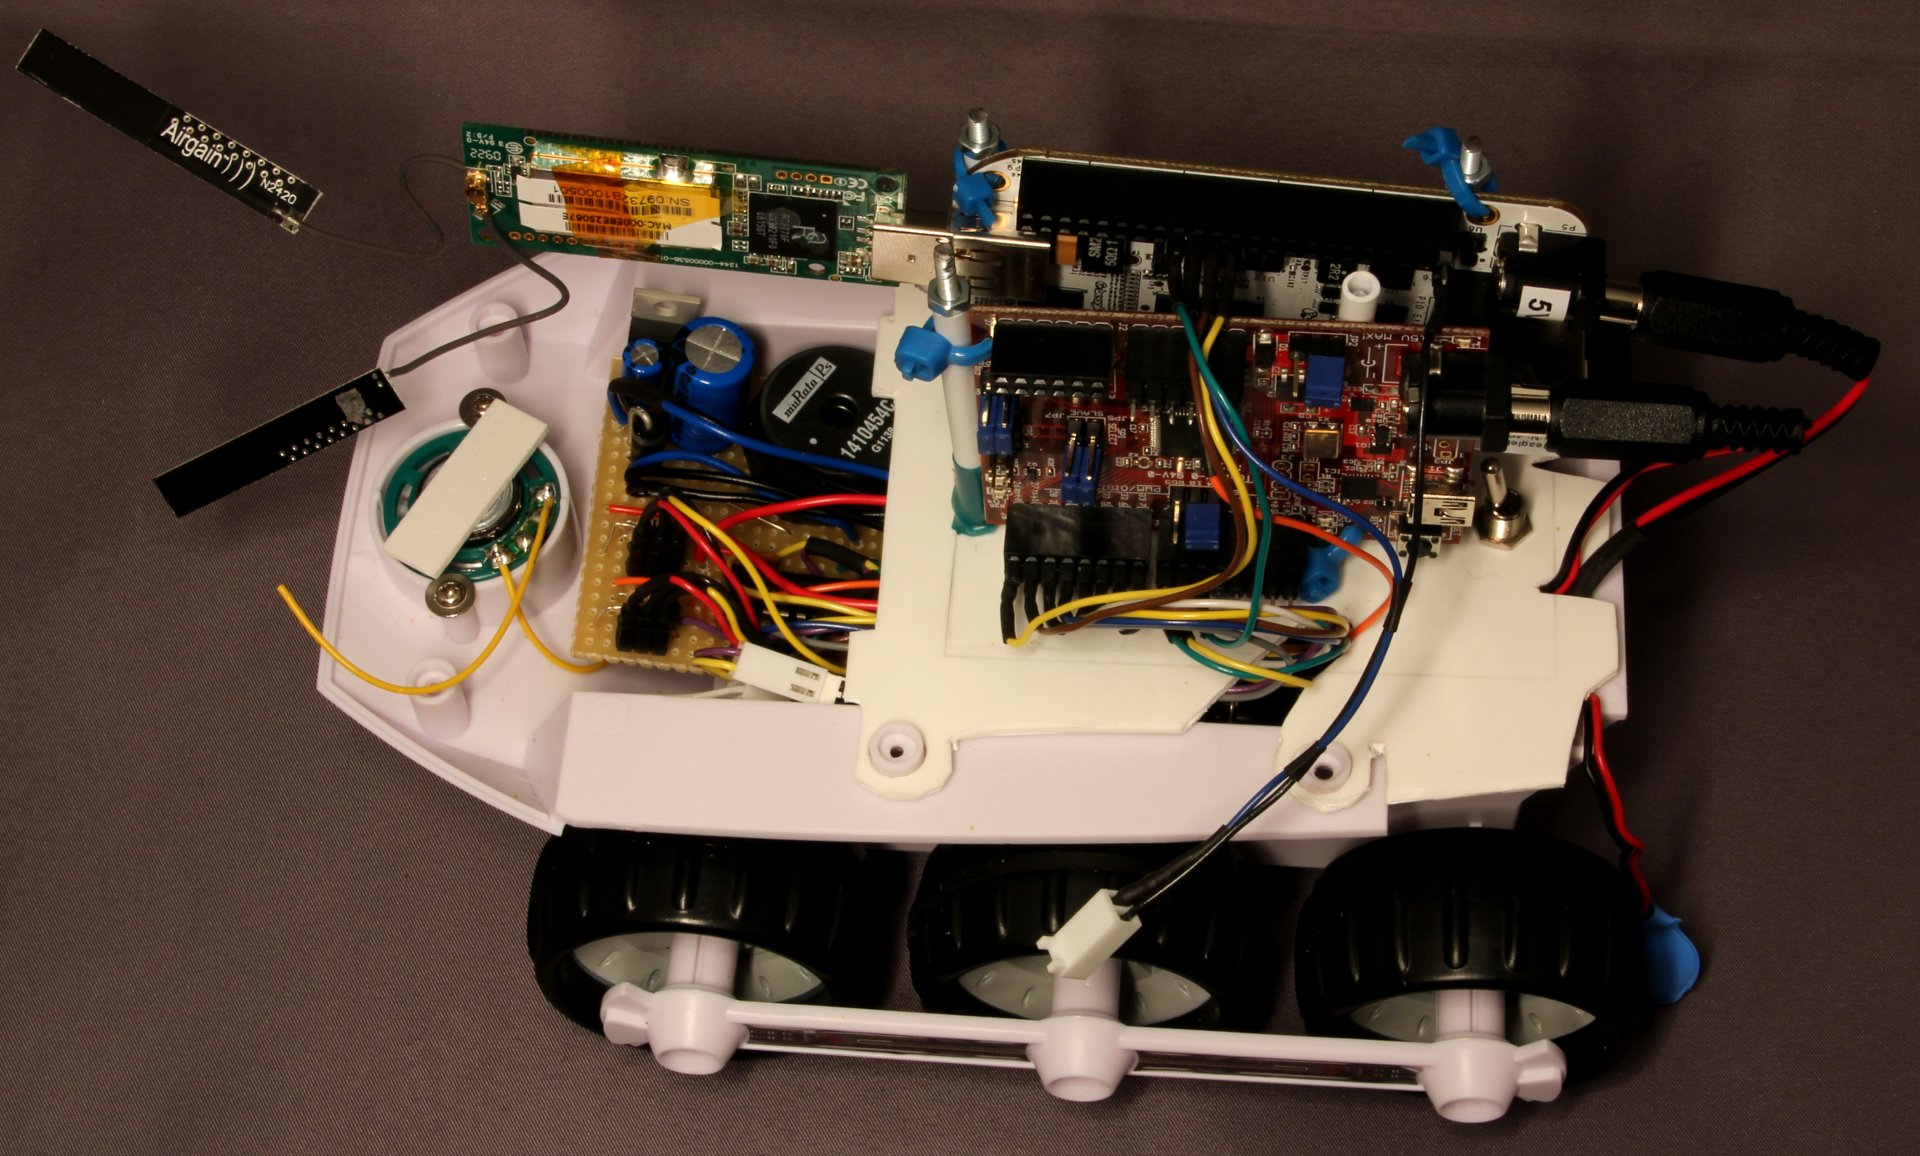
To power the two controller boards there's a six-pack of AA batteries hanging off the back of the rover on some cable ties like a back pack. This provides between 7.2V and 9V depending on whether rechargeable or alkaline batteries are used, this is fed through a 3A rated switch mode step-down regulator under the nose of the rover to provide a high current and cool supply at 5V. The ChipKit really doesn't use much power but the BeagleBone can use up to 500mA running and has to supply the additional current demands of its USB slaves, in this case a WiFi adapter and possibly a future camera so I figured that a 1A regulator would be pushing it a little. This does mean the batteries go down fairly fast, but the switch mode supply sucks them pretty dry and does a reasonably efficient job of the conversion (data sheet spec is ~80%).
The BigTrak has some very nice optically encoded motors in it that allow for fairly accurate dead-reckoning (positioning based on knowing how far you've moved). They have 1200 steps per revolution of the wheels and appear to just be a pair of IR LED and photo-diode. I rigged up a little NPN buffer circuit to connect them into the interrupt pins on the ChipKit which just uses the interrupt to count pulses. The software in the ChipKit receives a sequence of bytes, via the serial port, telling it how many steps to make each motor turn and then executes the instruction keeping one of the digital pins high while the instruction is being carried out so that the BeagleBone can know when to send the next one.
The BeagleBone runs a very simple web-server and application handler written in Python. This handles both the serving of HTML, and stylesheet etc. but also monitors the /run url for POST requests and interprets the provided POST data as a program which is passed to the LOGO interpreter program. I've only implemented a very limited set of LOGO commands such as FORWARD, BACK, LEFT and RIGHT, however, abbreviations are implemented and it is written in an expandable and abstracted way. I added the command FIRE to "fire" the blue "laser" on the front of the buggy which is controlled directly by the BeagleBone via one of its GPIO. The whole interpreter and hardware specific control code is written in Python with only the pySerial library extra to what is shipped with the board. Compiling the serial library was quite straight forward and I've detailed how I did it in the section on the LOGO interpreter.
The BeagleBone acts as a WiFi hotspot when it powers up and provides access to the browser based interfaces from a static IP. I've tested it with a PC and my Android phone and either makes a good platform for programming it with.
BeagleBone review
I was generally fairly happy with the BeagleBone. The new "bonescript.js" idea of emulating an Arduino on high level hardware in Javascript is an interesting idea but severely lacking in features at the moment. I like being able to use Python to do the GPIO control provided it isn't too demanding. It would be nice to have lower-level access to the GPIO via C for example, but the headers for any kind of kernel interface are missing from the default Angstrom distribution and unless you want to go into building your own kernel and runtime from the source (with all the cross compiler development environment implications of that) you can't get at the headers it seems.
The documentation is a bit lacking at the moment, there are increasing amounts of information online about it as more people get hold of it and start troubleshooting, but there isn't a nice central repository for information that I've found. The IRC channel was useless I was in there for a couple of hours and the only discussion was off topic and my question was simply ignored. Possibly I hit it at a bad time but it was quite disappointing. There's also a fair bit of mis-information going around about the BeagleBone, it does things a bit differently than the old Beagle Board and old hands have been suggesting old ways of doing things which are no longer necessary on the BeagleBone, I'm sure this is well intentioned but be a bit cautious about accepting advice from people who've not actually used the new platform.
I was also disappointed that the LiPo/LiION charger port was of no use for powering the board. This is part of the hardware which is very well documented so it was merely a case of reading the system reference manual to find this but still disappointing. It turned out that the power management IC can charge a LiPo battery but doesn't have the voltage boost circuit to generate the 5V needed from a single cell. Adding your own is possible of course but it isn't going to be happy if the board decides to try and use this 5V source to charge the battery off.
The platform has some real potential for serious processing based tasks, or where the full ethernet interface would be handy. I can see applications in home automation and control where the four logic level UARTs could be handy, energy monitoring and uploading measurements would also benefit from this low power board. In use I found with the WiFi running the board draws about 2W so it really is pretty efficient. Future applications can also expect a nice array of "capes" the BeagleBone equivalent of shields. Farnell have a list of part numbers for various Capes already listed including the DVI-D shield and a 7" LCD display browse them here.
So if you need 66 GPIO pins, some ADCs, USB host or ethernet, I'd seriously consider one of these, at this price it's pushing the Arduino Mega and an ethernet shield for price, and you get a LOT more processing power for your power and money budgets.
Comments
If you want to discuss this article you can reach me via email.